Note: I made some of the explanations clearer and images more contextual, and the images now load via fancybox instead of a new window. Now change that favicon!
You know that little picture next to your web address in the URL locator? That’s a favicon, and it shows up in important places like right next to the name of your site when someone bookmarks it. Here’s how my favicon looks in Chrome’s bookmarks list:

If you host your account with Bluehost like I do, you’ll get their default favicon when you first set everything up, and it stays that way unless you change it:

Not bad looking, but it’s hardly personalized, especially when dozens of other bloggers and websites have it. And it’s another small but important piece you can burn your brand onto.
Below is a beginner’s step-by-step guide on how to change your favicon image. Those of you no on Bluehost can follow this as well, and this is all assuming you do not FTP to file manage on your Bluehost server, or don’t know much about Photoshop or hosting in general.
- Assuming you don’t have your own favicon yet, you can get a favicon generated at a site like this or this or just Google it. If you have some sort of logo or photo it helps, or you can kind of doodle your own if you think you have some artistic ability. It has to have square dimensions and some there are some color limitations. It can be animated too, but please don’t get too annoying with things like that.
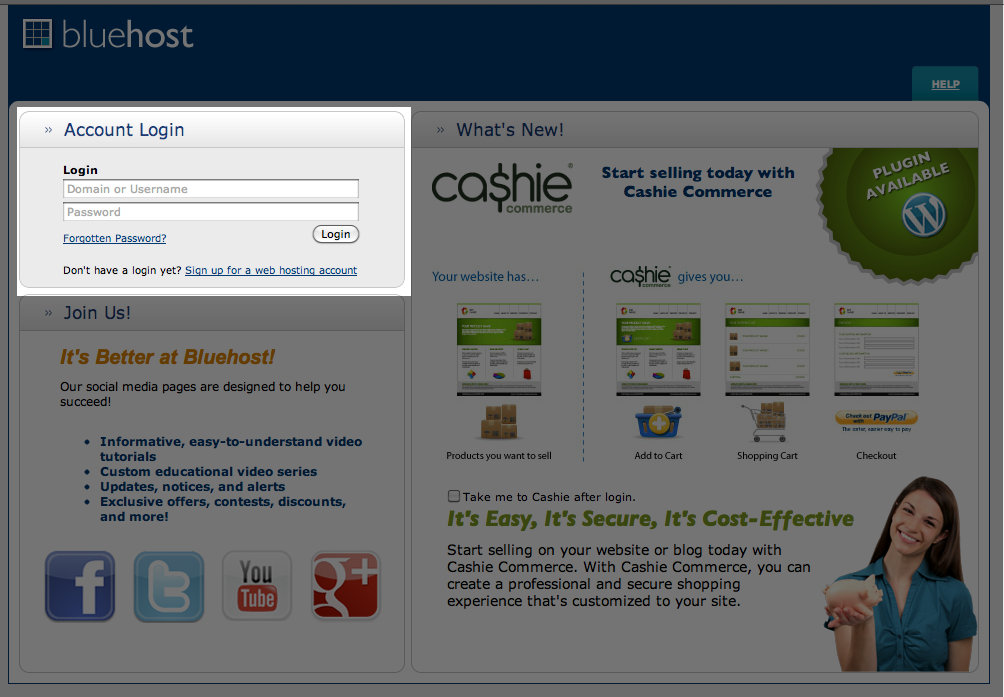
- Log into your Bluehost control panel here. [screenshot]
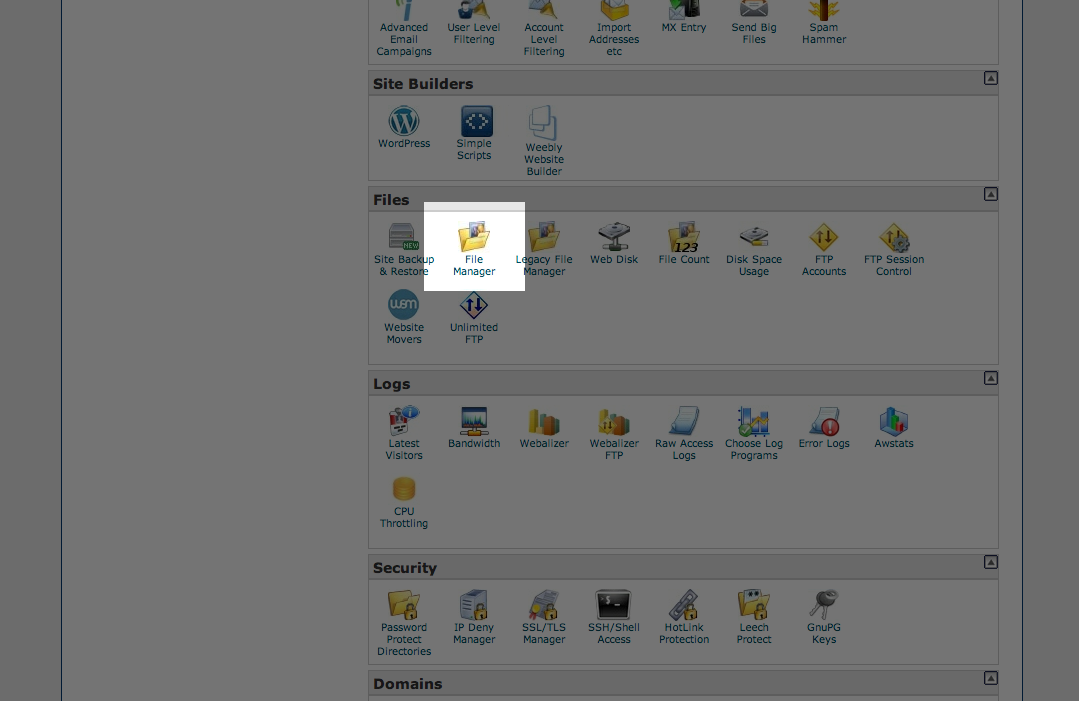
- Under the “Files” section (by default it’s halfway down the page) on the right hand side, click “File Manager”. [screenshot]
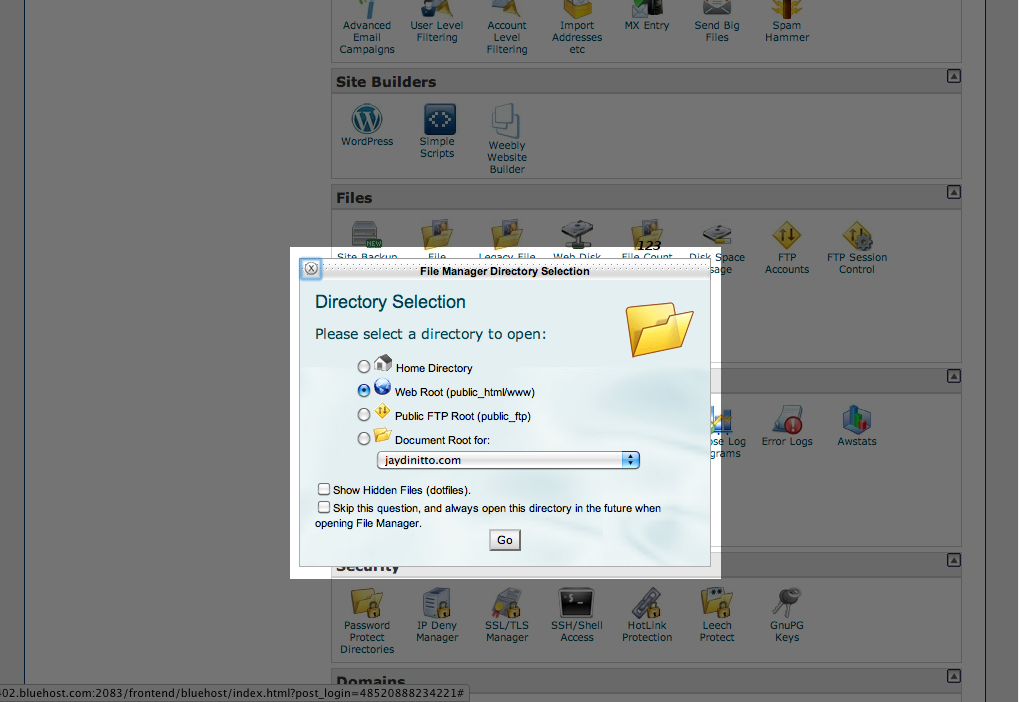
- You’ll get an interstitial about choosing the directory. Just hit “Go”. [screenshot]
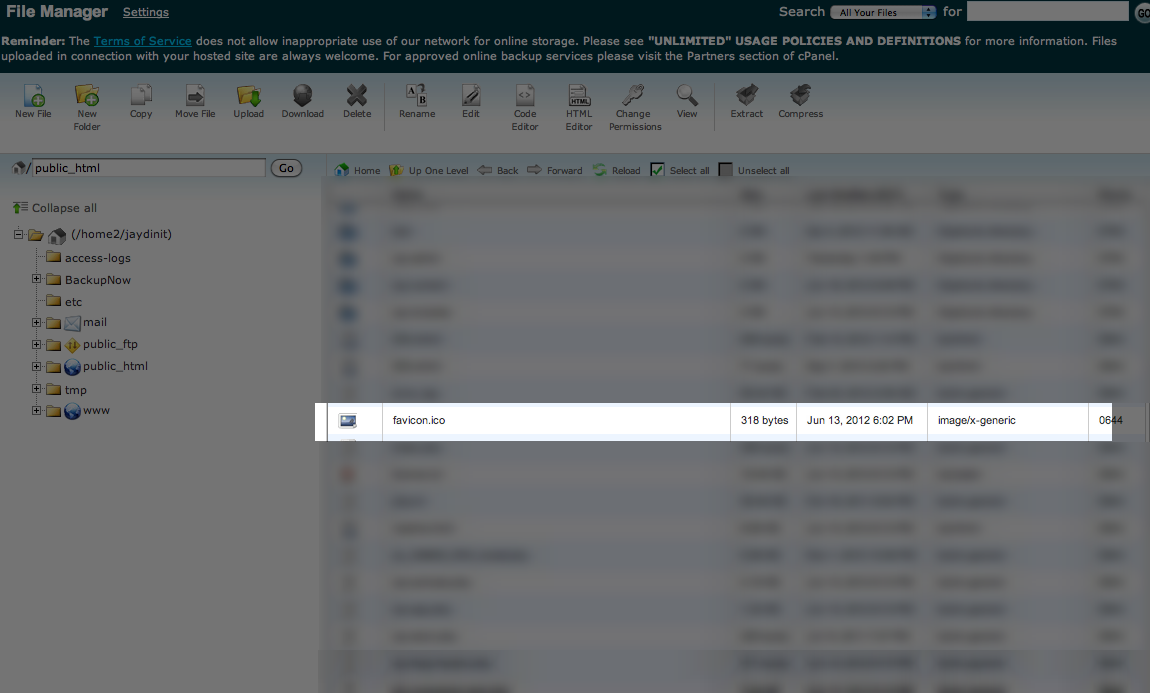
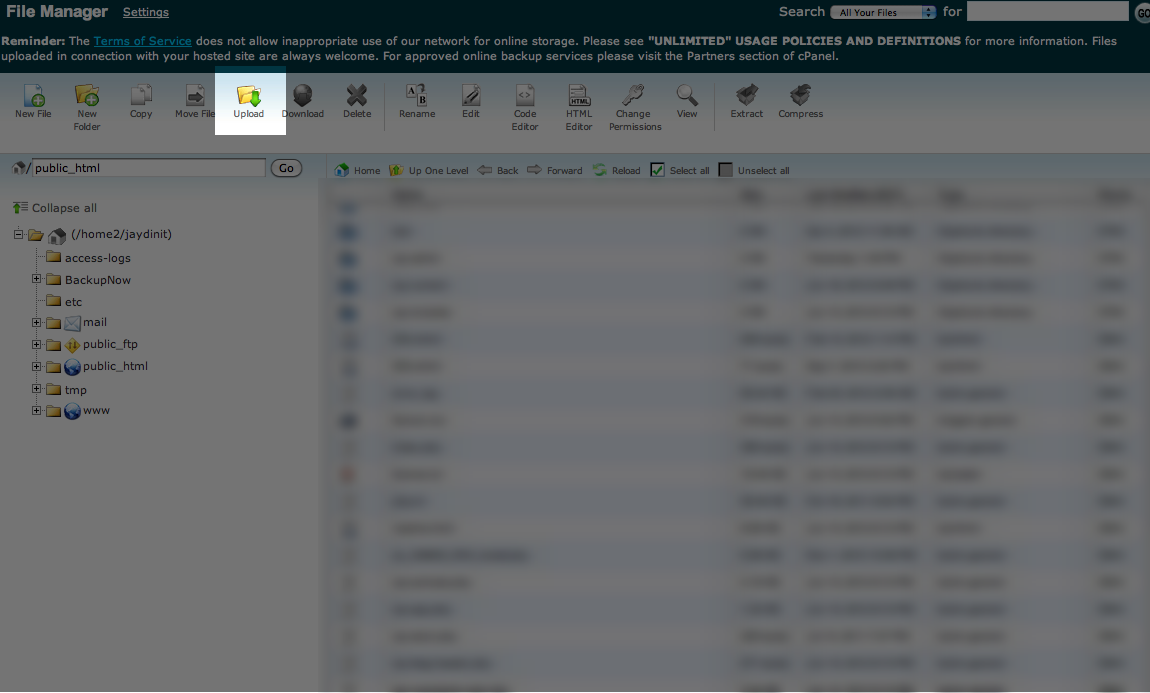
- The file manager will load with the public root directory (folder) for your site. That means that you’re basically going to see the files and folders contained inside the trailing slash at http://www.yourdumbdomainname.com/. This is where your favicon.ico file is held (it applies to the entire site). You don’t need to do anything with that file. [screenshot]
- At the top navigation of the file manager, hit “Upload”. [screenshot]
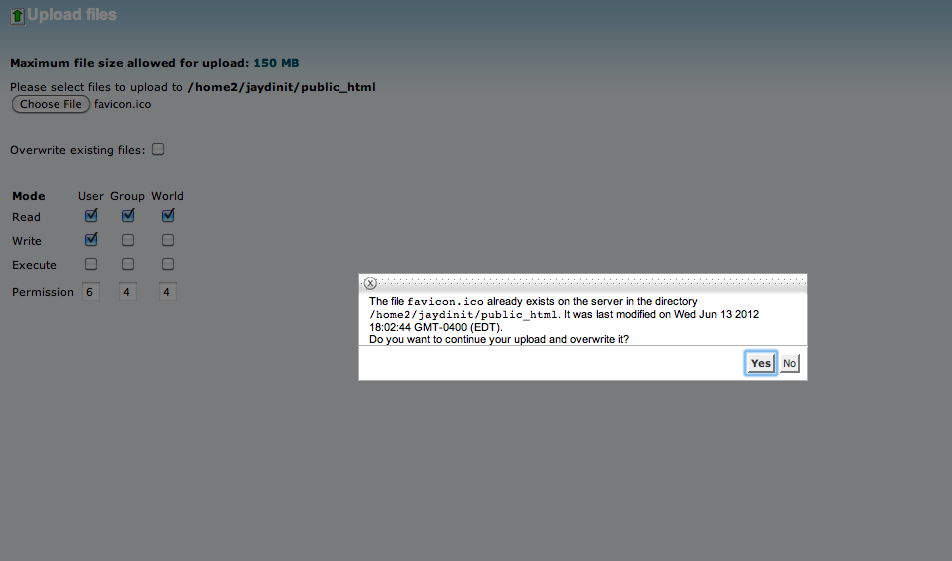
- Upload that fabulous new favicon by hitting “Choose File” [screenshot]. If you didn’t delete Bluehost’s default icon (there’s no need to, really), you’ll get this popup. [screenshot]. Overwriting it won’t kill anyone, so don’t be scared—it’s why you’re doing this in the first place. Note: the favicon must be named “favicon.ico” or browsers will not recognize it. If you use a generator to make one it will be named that way automatically so you probably don’t need to fret over it.
- It might take some time for the new favicon to show up on your browser. You can force it to show the new one by doing this.
- Grab a cup of coffee because you look great.
4 Comments
Jay, I’ve been thinking about doing this for a while. This is very helpful. All I need to do now is decide on a favicon image that will work.
Hey Mike! Glad you liked it. Email me if you need help with anything.
So, so glad I found this post – have been trying to work out how to do the favicon for ages and this is the only one that shows you how in layman’s terms! Thank you 🙂
No problem Beth. Reply back if you have trouble…I might be able to help.